Lossy vs Lossless: Understand image compression
Published in July 2026 • 8 min read
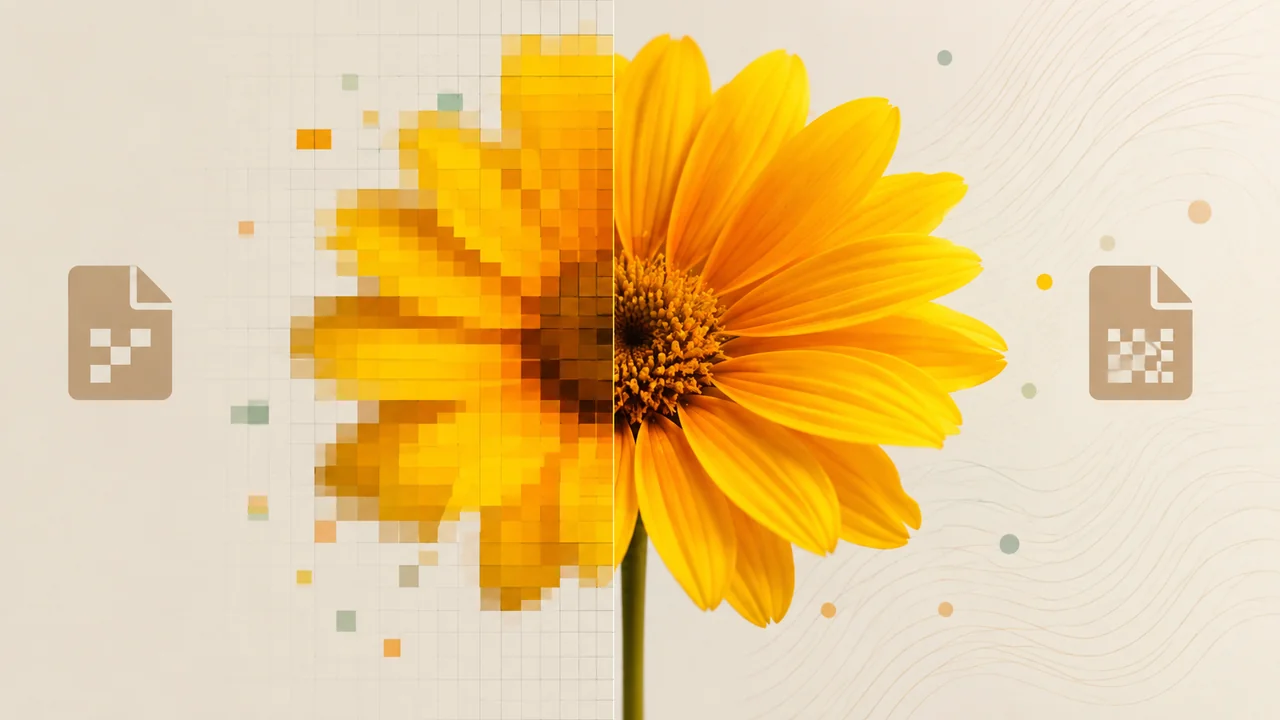
When you save a photo to your computer, compress an image to send via email, or export a design to the web, a fundamental process is happening behind the scenes: data compression. But not all compression is created equal. There are two fundamentally different approaches — Lossy and Lossless — and understanding the difference between them is essential for anyone who works with images, whether a design professional, photographer, content creator or simply someone who wants to send photos without maxing out their storage.
What is image compression?
Digital images are made up of millions of pixels, each containing color information. A 12 megapixel (4000 x 3000) photo, stored without any compression in RAW format, can take up 20MB to 50MB. For a single photo, this may be acceptable. For hundreds or thousands of photos — or for display on the web — it's impractical.
Compression reduces file size by using mathematical algorithms that find more efficient ways to represent image data. The difference lies in what happens to the original data during this process.
Lossless Compression
In lossless compression, no data is discarded. The algorithm finds repetitive patterns in image data and represents them in a more compact form, similar to how a ZIP file works. When you uncompress (open) the image, it is bit-for-bit identical to the original.
Formats that use lossless compression:
- PNG: The most popular lossless format for the web. Ideal for screenshots, logos, icons and any image with large areas of solid color, text or transparency.
- GIF: Limited to 256 colors, but uses lossless compression within that palette. Mainly used for simple animations.
- TIFF: Professional format that supports various types of lossless compression. Used in professional photography and graphic printing.
- BMP: Windows format without compression (or with lossless RLE compression). It generates huge files and is rarely used.
- WebP (lossless mode): Google's WebP also supports a lossless mode that generally produces files smaller than PNG.
When to use lossless:
- Logos and icons with solid colors and sharp edges.
- Screenshots and screenshots with readable text.
- Images that need transparency (alpha channel).
- Working files that will be edited multiple times.
- Medical, scientific or technical images where pixel-to-pixel precision is critical.
Lossy Compression
In lossy compression, the algorithm discards information that it considers less perceptible to the human eye to achieve dramatically smaller file sizes. This information is permanently lost — it cannot be recovered. The resulting image is an approximation of the original, not an exact copy.
Lossy algorithms exploit limitations of human visual perception. For example, our eyes are much more sensitive to variations in brightness than color, so lossy compression can discard more chrominance data without the difference being noticeable under normal viewing conditions.
Formats that use lossy compression:
- JPEG: The king of lossy compression. Used in 90% of photographs on the internet. Offers quality adjustment from 0 to 100%, where lower values result in smaller files with more quality loss.
- WebP (lossy mode): Produces files 25-34% smaller than JPEG with comparable visual quality.
- AVIF: The most efficient format today, with lossy compression superior to WebP and JPEG.
- HEIF/HEIC: Apple format used on iPhones for photos. Efficiency similar to WebP.
When to use lossy:
- Photographs for the web (websites, social networks, e-commerce).
- Images to be sent by email or WhatsApp.
- Thumbnails and previews.
- Any situation where file size matters more than pixel-by-pixel perfection.
The Recompression Effect: Why Never Edit JPEGs Repeatedly
One of the most important concepts about lossy compression is the effect of recompression. Each time you open a JPEG, edit it, and save it back to JPEG, a new round of lossy compression is applied. Losses accumulate with each cycle, progressively degrading image quality.
After 10-20 cycles of editing and saving to JPEG, the image may exhibit severe visible artifacts: color blocks, halos around edges, and general loss of sharpness. It's like making a photocopy of a photocopy over and over again — each generation loses quality.
Rule of thumb: Always keep your work files in lossless format (PNG, TIFF or PSD). Export to JPEG or WebP only in the final version, when there will be no further edits.
Visual compression: how to choose the ideal quality
For lossy formats like JPEG, the "quality" setting determines how much data will be discarded:
- 100% (maximum): Almost no visible loss, but the file is still smaller than PNG. Ideal for printing.
- 80-90% (high): Loss imperceptible to most people. Great for high-quality web photography.
- 60-80% (average): Subtle differences noticeable on zoom. Good for general use on the web and social networks.
- 30-60% (low): Visible compression artifacts. Only acceptable for thumbnails or previews.
- Below 30%: Severe degradation. Avoid except for very specific uses where minimum size is an absolute priority.
How to compress your images
With Free Conversion Image Converter, you can compress and convert images between all the formats mentioned in this article — JPEG, PNG, WebP, and AVIF — with full quality control. All processing is local, directly in your browser, without sending your images to any server.
Conclusion
Understanding the difference between Lossy and Lossless is key to making smart decisions about how to store, edit and share your images. Use lossless for work and editing, lossy for distribution and web. And remember: never edit and re-save JPEGs repeatedly — use lossless formats as your working format and export to lossy only at the end.